Find A Plumber Near You
Call Us Now:

Among all bathroom horror stories we’ve told and heard, a toilet tank not filling up is one of the most spine-chilling tales.
Water not filling the toilet tank prevents you from flushing properly. The worst part is that it isn’t just gross; it can trigger a catastrophic overflow from the toilet bowl or waste huge volumes of water.
In order to solve this—or any other type of plumbing issue for that matter—we need to identify the source. Finding out why water is not filling the toilet tank isn’t as easy as 1, 2, 3. However, with our quick tips and tricks, we’ll get you from point A to B in no time.
One of the most common culprits behind a toilet tank not filling is low water pressure. If your home’s water supply line is lacking sufficient pressure, it could cause a toilet to shut off before it has the time to do a complete refill.
Low water pressure is often attributed to a faulty water pressure regulator valve, a damaged main water shut-off valve, or limescale buildup caused by hard water.
Sorry to disappoint the DIY master that lives within you, but an effective DIY solution is not available for this one. The good news is that your trusted plumber is only one call away! Hiring a professional to identify and repair the problem is the safest and most efficient solution.
If your toilet’s fill valve closes before the tank fully refills with water, then you’ve got a fairly common plumbing issue on your hands.
Fill valves are the mechanisms that allow water to flow into the tank after every flush. This valve is connected to a float that signals it to open when the tank empties.
Grab a screwdriver and possibly some anti-rust penetrating oil and follow these steps:
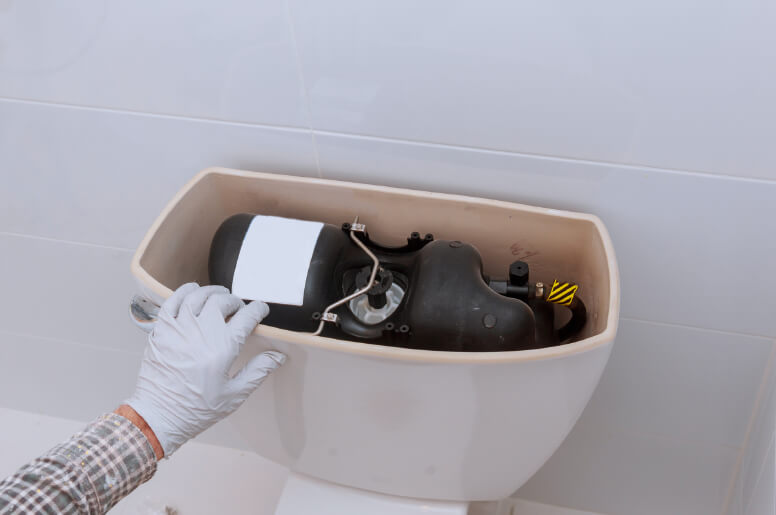
Step 1: Lift the toilet tank lid, set it aside and locate the fill valve on the left side of the tank.
Step 2: Find the adjustment screw.
This is your screwdriver’s time to shine. Place it into the adjustment screw on top of the fill valve. Turn the screw clockwise in order to raise the toilet float at the end of the arm. This should increase the amount of water required to shut off the valve. You can also turn the screw counterclockwise to repair an opposite problem.
Step 3: Next, flush the toilet to refill the tank with water. If all is well, reinstall the tank lid. Repeat the process until the water reaches an optimal level.
Important Note: Keep in mind that if this job isn’t performed with precision, it could cause your toilet to overflow. With this, it is always advisable to recruit professional services when the plumbing issue is too complicated to remedy by yourself.

A rubber gasket, also commonly referred to as a toilet flapper can be found at the bottom of the tank. This part is responsible for sealing off the tank from the bowl to prevent water from leaking out.
Each flush prompts a chain to raise the flapper in order to release water into the bowl. As time goes by, the flapper can go through wear and tear until it no longer seals entirely. When water constantly leaks out, the toilet will never have a full tank.
Let’s test your hypothesis by putting a few drops of food colouring into the toilet tank. Wait for about 30 minutes to see if any of the color leaks into the bowl.
The best solution would be to install a replacement rubber gasket as soon as possible. If you wait too long, you will risk wasting gallons and gallons of water while paying a higher hydro bill.
If your toilet is suffering from leakages, you will usually see standing water around the base.
Toilet leaks are typically the result of a loose bolt or a crack.
Depending on the source and severity of the damage, you may either need to secure the bolts or have your toilet replaced. Allow an expert to evaluate it to help you choose the best solution.

In times when DIY doesn’t go your way, it’s time to call a plumber to save the day.
From remedying a toilet tank not filling up to an entire bathroom overhaul, you can count on 1st Rooter—the leading plumbing service provider in Hamilton, Burlington, and Oakville—to flush your toilet troubles away.
Leave A Reply