Find A Plumber Near You
Call Us Now:

Thinking of installing a faucet yourself?
Whether your old one broke or you’re simply looking for an aesthetic upgrade, it’s a job you can likely tackle with a little elbow grease. While we don’t recommend DIY plumbing solutions, this guide will walk you through the basics. For a more convenient route, call in the experts for professional faucet installation!
Without further ado, here’s how to install a bathroom faucet.
You need to gather the right tools for the job before you get started, some of which you may already have at home. You will need:
Look for the water shut-off valve (a twistable metallic knob) underneath the bathroom sink and turn it accordingly to shut off the water. If you don’t have a dedicated shut-off valve for your sink, you’ll have to cut the water by turning off the main water supply.
Then, turn on your faucet to release the remaining water and ensure it drips until empty.
Place a bucket under the water supply lines to catch any drips while you’re removing them. Then, disconnect the supply lines connected to the faucet using your adjustable wrench. You can loosen the nuts with a lubricant if need be.

Image source: Canva
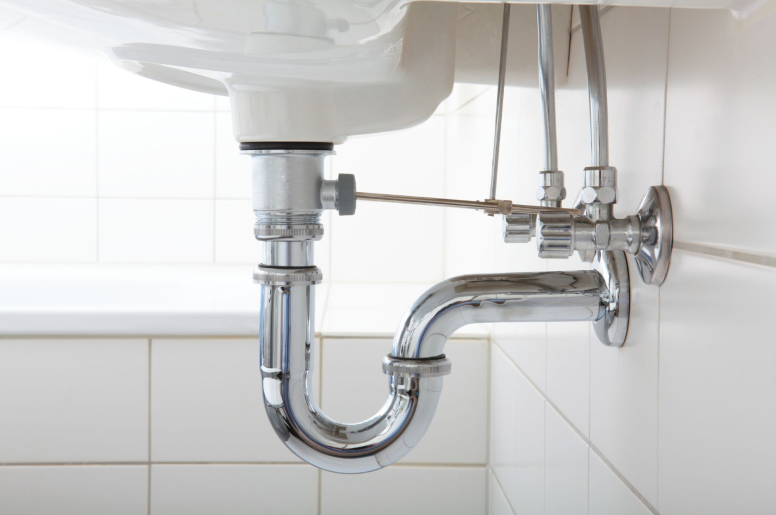
If you’re also replacing the drain, turn your attention to the P-trap (the U-shaped pipe underneath your sink) as you’ll likely need to remove it. Unscrew its slip nuts with a wrench or by hand, then unload all the remaining water inside into the bucket.
To then remove the drain, you’ll need to:
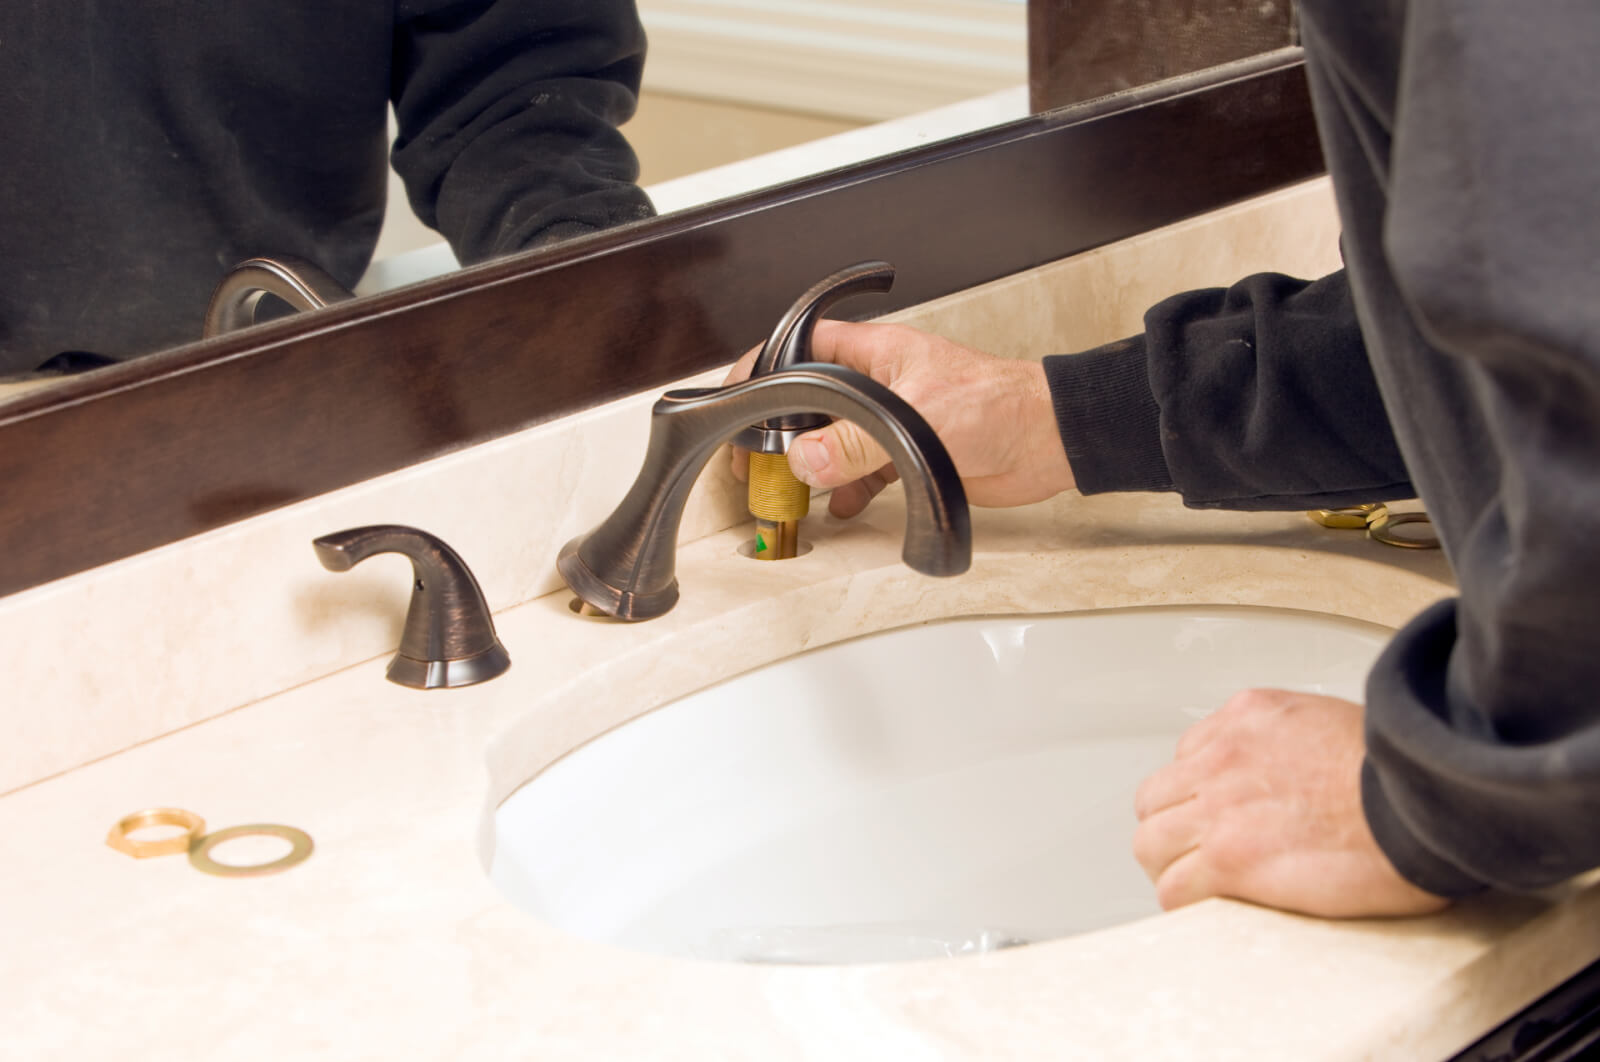
With the supply lines out of the way, you can now remove the faucet’s mounting nuts that hold it in place. Pull them off along with the rubber washers underneath.
🔧 Expert Tip: Apply penetrating oil if the nuts are too stiff to unscrew!
Once all screws are removed, dislodge the old faucet from the sink. You should be able to lift it straight out of its mounting holes using two hands.
Use soap, water, and a sponge to clean any grime or sealant buildup that may have accumulated in the mounting holes. You can use a plastic putty knife to get rid of any stubborn residue, but avoid metal as it may cause damage.
Let the cleaned area dry completely before moving on to part two!
Follow the manufacturer’s instructions to assemble the faucet.
With the faucet assembled, you’ll now need to slide the gasket onto its base and carefully insert it into the mounting holes. When you insert the faucet into the hole, make sure the base is parallel to the back of the sink.
🔧 Expert Tip: Applying a small amount of silicone caulk around the edges will provide you with an extra layer of waterproofing protection.
 Image Source: Canva
Now it’s time to secure the faucet to keep it in place. Slide the rubber washer onto the tailpipe that extends from the faucet through the underside of the sink, then screw the lock nut on top until it’s hand-tight. Resistance means it’s too tight!
With the tailpipe(s) secured, you can now re-connect the hot and cold water supply hoses. Attach them and tighten them by turning them clockwise by hand, then use your basin wrench to keep turning them until you feel resistance.
If you have a faucet without rubber gaskets, applying plumber’s tape to the connections before attaching the hoses is a good idea.
This step only applies if you removed the P-trap and drain to begin with. If you did, follow these steps to get yours re-attached to the sink:
With everything back in place, you can now turn the water back on by twisting the water shutoff valve opposite to how you did it before. If everything flows correctly without any water leaks, you’ve officially completed the replacement job!
Are you still wondering how to install a bathroom faucet after reading through this guide? If you don’t feel up to the task—or if your new bathroom faucet is leaking—then it’s time to give the professionals at 1st Rooter a call to straighten things out!
Faucet installation and repair is our forté. We’ve been servicing sinks in Hamilton, Burlington, and Oakville for over 25 years, and there’s no doubt in our minds that we’ll be able to get yours installed and working as intended in no time at all.
Leave A Reply